







How to Install Vast.ai: A Complete Beginner’s Guide
Renting out spare GPU horsepower on Vast.ai is one of the easiest ways to turn idle hardware into passive income. In this guide, I’ll walk you through exactly how I set up a budget Vast.ai rig from scratch from picking the hardware to getting the machine listed and earning on the Vast.ai marketplace.
This isn’t a “you need the best hardware” tutorial. Everything used here was spare parts sitting in a closet, and it still works great for getting started and testing the waters for Ai rig rentals.
Follow along with me and checkout my Ultimate Beginners Guide to Installing Vast.Ai Video
Budget Hardare Overview
Before diving into the install, here’s exactly what went into this build. None of it is anything crazy — the goal was to prove you can get started with what you already have.
- Case: Asus Prime AP201 small form factor case
- Motherboard: Gigabyte B450M (supports AMD CPUs; technically supports two GPUs, but too tight a fit in this case)
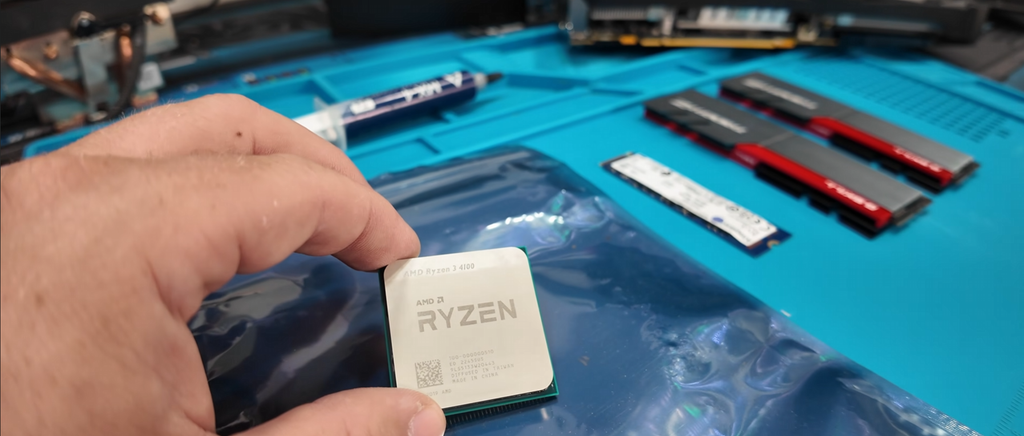
- CPU: Ryzen 3 4100 (a cheap, budget-friendly chip, most serious rigs use EPYC CPUs, but this is a low-cost entry build)
- Memory: 2x 8GB DDR4 3200 sticks (16GB total)
- Storage: Kingston 1TB NVMe (don’t go smaller than 1TB; 2TB if you can swing it)
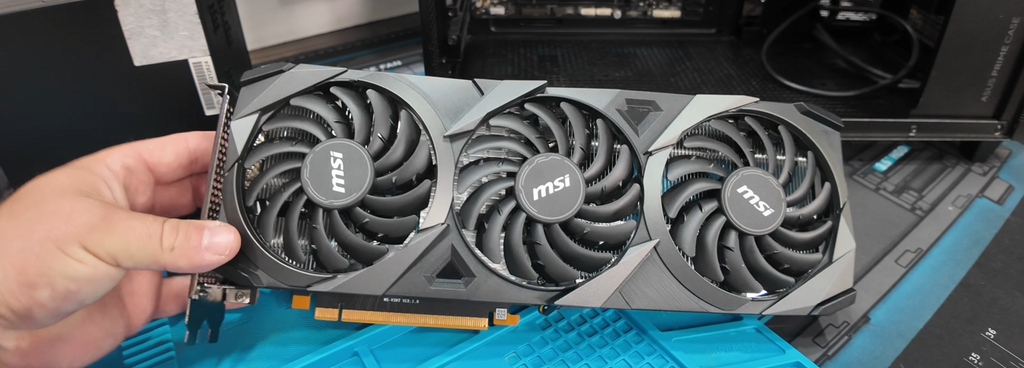
- GPU: GeForce RTX 3060 12GB VRAM
- Power Supply: EVGA 650 Bronze, fully modular
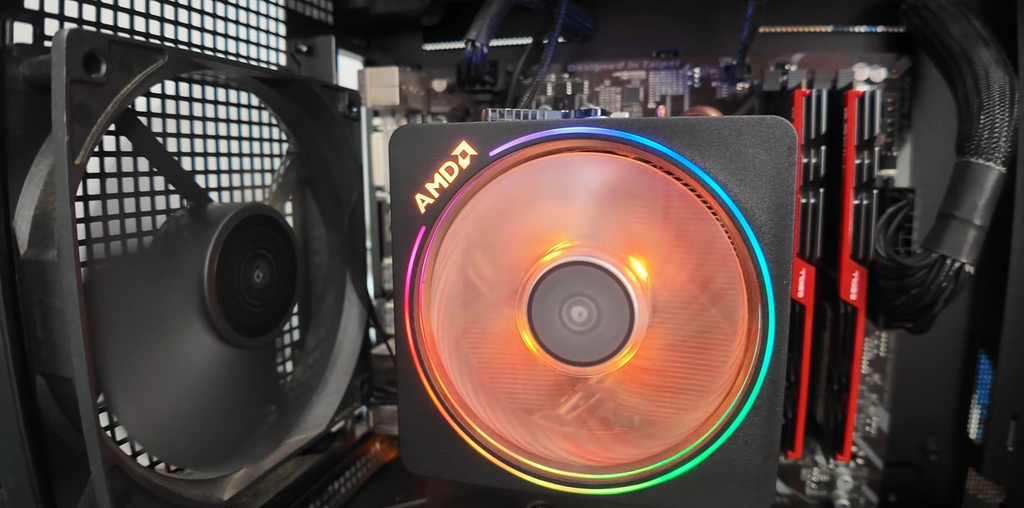
- CPU Cooler: AMD Wraith (stock cooler that came bundled with the CPU)
A few notes on hardware choices
- Memory matters more than you’d think. 16GB is on the low end and can bottleneck performance on Vast.ai. If your budget allows, 64GB is recommended even for a single-GPU setup.
- VRAM is king for rentals. 12GB of VRAM is the realistic minimum for GPU rig rentals. Cards with 8GB (like RTX 3070) can technically work, but you likely won’t get great rental results. Anything below 12GB, proceed with lowered expectations.
- Don’t overspend on a first build. Use what you have. See what kind of returns you get before sinking money into upgrades.
Step 1: Build and Boot the PC
Assemble your rig as usual and connect a monitor/keyboard and mouse, along with a wired Ethernet connection. Power it on and confirm it boots into BIOS successfully before moving forward.
Step 2: Choose Your Installation Method
Vast.ai provides its own free official setup guide that walks you through manual installation via command line. If you’re comfortable with Linux and troubleshooting on your own, that route works fine and costs nothing.
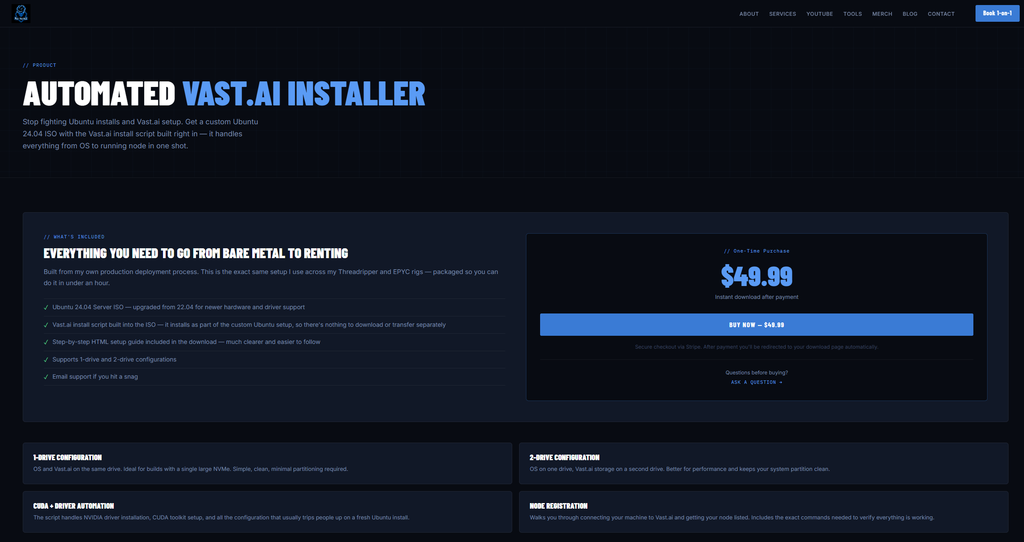
For this tutorial build, I used a paid automated installer from a YouTuber named Max Voltage ($49.99 at the time of this recording, available at his site). It essentially takes the official Vast.ai process and puts it on training wheels, a guided, step-by-step dashboard that walks you through flashing the drive, configuring BIOS settings, and running the install scripts in phases.
Step 3: Flash the Custom Ubuntu ISO to a USB Drive
- After purchase, Download the installer files and extract them. You’ll get a folder containing a setup guide and the installer image.
- Grab a USB drive that’s 8GB or larger.
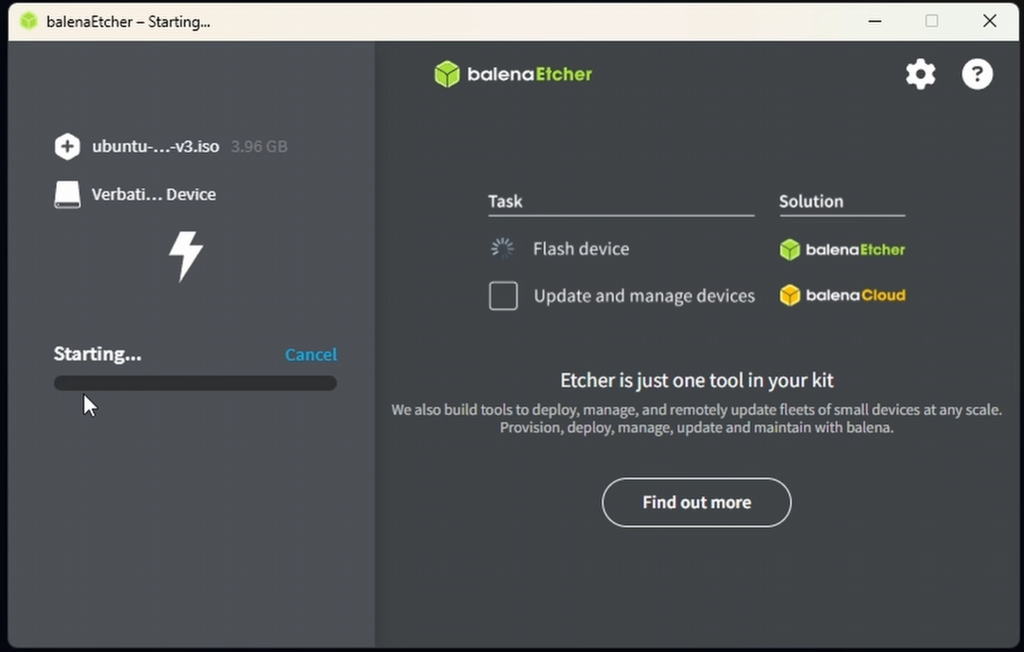
- Download and install Balena Etcher, a free tool for flashing ISOs to USB drives.
- Open Balena Etcher, select “Flash from file”, and choose the custom Ubuntu ISO file included in your setup folder.
- Select your USB drive as the target.
- Click Flash and let it run. This can take several minutes.
Step 4: Configure BIOS Settings
Before booting from the USB drive, go into your motherboard’s BIOS and set the following:
- UEFI Boot Mode — enabled
- Secure Boot — disabled
- Restore on AC Power Loss — enabled (so the rig auto-restarts after a power outage)
- CPU Virtualization — enabled
- IOMMU — enabled
- Above 4G Decoding — enabled
- Resize BAR Support — enabled
Every motherboard’s BIOS is laid out differently. If you can’t find a setting, search your exact motherboard model plus the setting name (an AI tool like Claude or ChatGPT, or a quick Google search, works well for this).
Step 5: Boot from the USB Drive and Run the Auto-Installer
- Plug the flashed USB drive into your rig (a rear USB port tends to be more reliable than a front one).
- Power on the machine. It should boot directly into the custom Ubuntu installer.
- The installer runs automatically, no input needed. Just walk away.
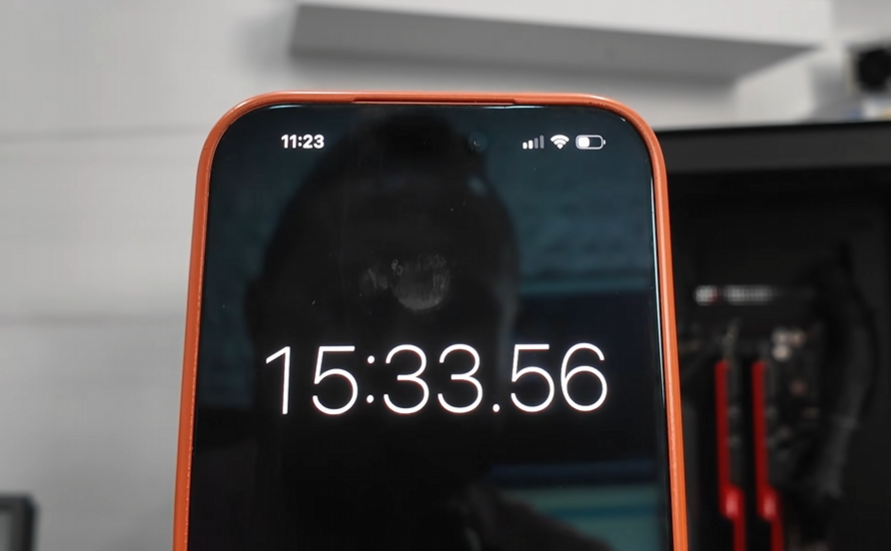
- The install process takes roughly 10–15 minutes. When it’s done, the machine will power itself off.
While you wait, this is a good time to create your free Vast.ai account if you haven’t already.
Step 6: Find Your Rig’s IP Address
- Once the machine powers off on its own, unplug the USB drive and power the machine back on.
- It will boot into Ubuntu and prompt a test login.
- Log in with the default credentials:
Username:gpurentalPassword:Welcome(capital W) - This login screen will display your machine’s local IP address (e.g.,
192.168.86.92). Write it down, yours will be different from the example.
Step 7: Connect to Your Rig via PuTTY (SSH)
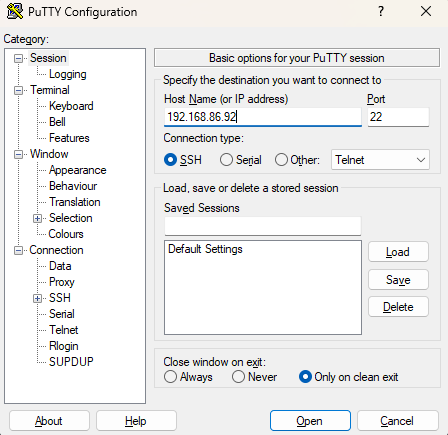
- Download and install PuTTY on your main computer, you’ll use this tool constantly going forward.
- Open PuTTY and enter your rig’s IP address.
- Click Open. Accept the security prompt if one appears.
- Log in with the same default credentials from Step 6 (
gpurental/Welcome). Note: the password won’t appear as you type, that’s normal.
Step 8: Run the Setup Script In Phases
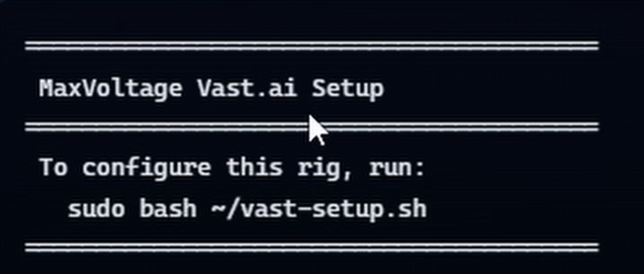
After logging in via PuTTY, the terminal will prompt you to run the setup script.
Initial Configuration Questions
Running the script the first time triggers a series of setup questions. Answer each one and press Enter:
- Did you use the custom Ubuntu ISO? → Yes
- Paste your Vast.ai install command (the one starting with
wget, found in your Vast.ai account dashboard under the install manager on the left) - Rig name / hostname — name your machine something identifiable (e.g., “RTX3060rig”)
- Starting port number — choose a starting port (e.g., 40000)
- Ending port number — typically starting port + 100 (e.g., 40100) for a full 100-port range
- Second drive? — Yes/No depending on your build
- Username and password — set your permanent login credentials (you’ll use these instead of the default
gpurental/Welcomegoing forward) - Confirm settings — type Y to confirm and let the script proceed
Important: Before entering your port range, log into your router or firewall and forward that full block of ports (e.g., 40000–40100) to your rig’s IP address. It’s also a good idea to set a static/reserved IP for the rig on your network so it doesn’t change later.
Phase 1–4: Let the Script Run
The script runs in phases, rebooting between some of them. PuTTY will disconnect when the machine reboots, that’s expected.
- Phase 1: Applies account changes. After the reboot, log back in using your new username and password (not the defaults).
- Phase 2: Installs the NVIDIA GPU drivers.
- Phase 3: Confirms your GPU is detected and asks you to re-enter your port range.
- Phase 4: Vast.ai install (only runs if needed, you may see it skip straight to “setup complete”).
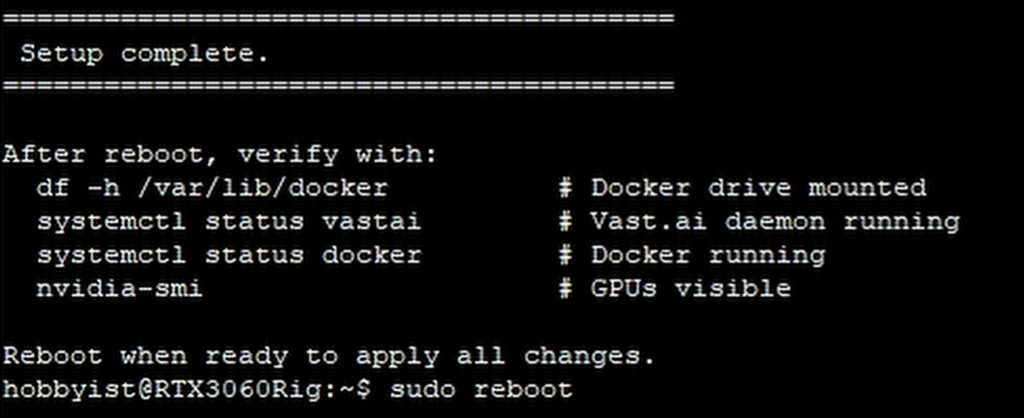
After each reboot, re-run the same setup command again to continue to the next phase. Once you see “Setup complete,” reboot one final time with:
sudo reboot now
Step 9: Verify Everything Is Working
After the final reboot, log back in via PuTTY with your new credentials and run through this checklist:
| Check | Command |
|---|---|
| GPU detected | nvidia-smi |
| Vast.ai daemon running | systemctl status vastai |
| Docker running | systemctl status docker |
| Port range configured correctly | (command provided in your setup dashboard) |
If all four come back clean, your rig is fully configured and ready to go live.
Step 10: Confirm Your Rig Is Live on Vast.ai
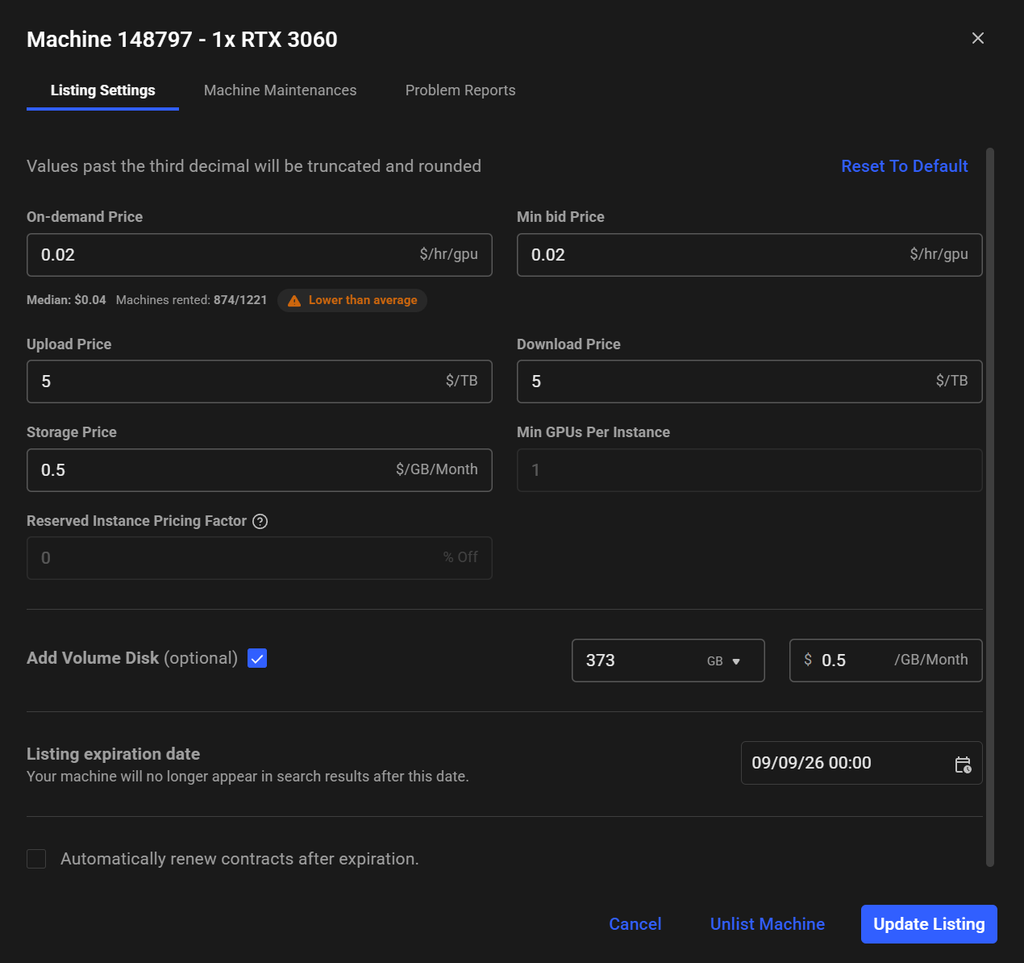
Log into the Vast.ai Console, select Machines on the left, Click Settings on your machine’s listing to configure pricing. This includes your hourly rental rate, storage pricing, and bandwidth pricing.
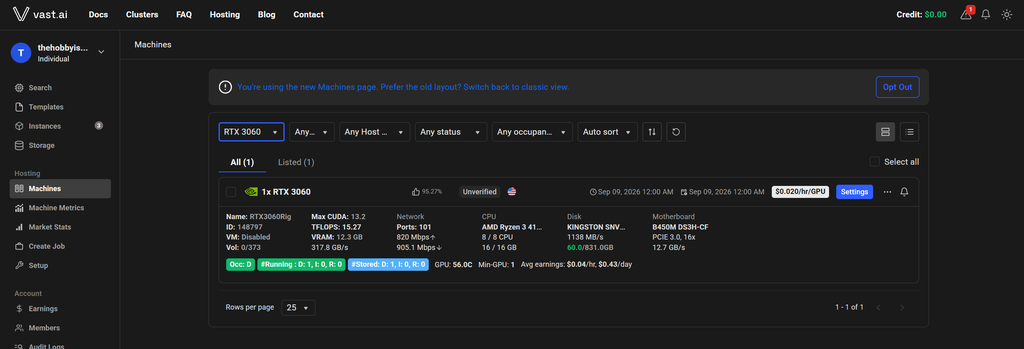
To price it yourself: Use the Search tab on Vast.ai to look up similar rigs (same or comparable GPU) and see what others are charging. Expect to spend some time dialing this in.
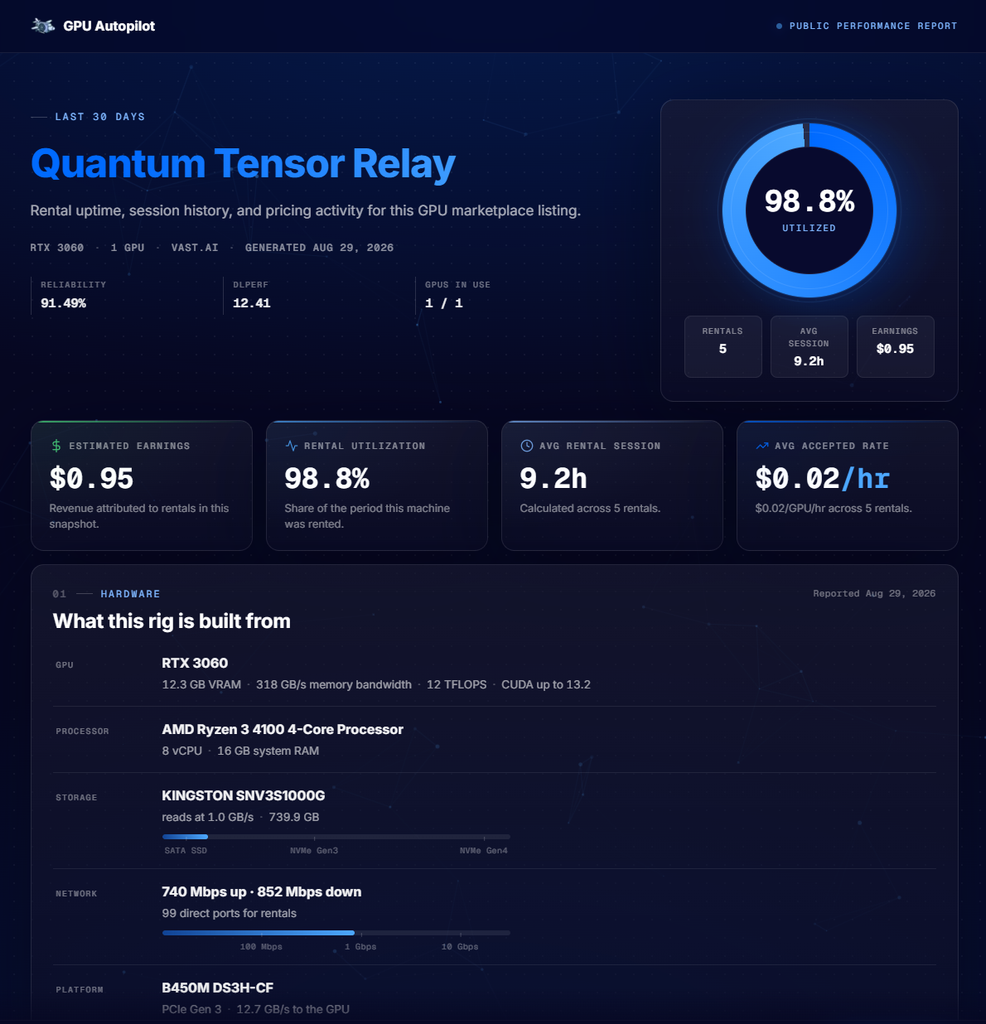
To automate pricing: Consider a third-party tool like GPU Autopilot, which automatically adjusts your pricing to maximize earnings without manual tuning. Most of these services charge a small monthly fee per rig.
Checkout my Rig LIVE on GPU AutoPilot right now, Click Here
Final Thoughts
That’s the full process — from a pile of spare parts to a fully listed rig on Vast.ai. A few key takeaways for beginners:
- 12GB+ VRAM is the sweet spot for rental viability with Graphics Cards.
- More RAM (64GB+) will remove bottlenecks if your budget allows it.
- Port forwarding and a static IP for your rig are non-negotiable steps, don’t skip them. May need to use ChatGPT or Claude to help with your home router or firewall.
- Whether you use the free official Vast.ai guide or a paid automated installer, the underlying steps (flash ISO → BIOS config → boot → SSH → run script → verify → price) are the same.
See You Next Time!
Already running a AI Rig or thinking about building one? Maybe you still have lots of questions, which is understandable. Come share your experience or ask questions in The Hobbyist Miner Community Discord — free to join here!