Ultimate Plug & Play Full Home BITCOIN Node! Unboxing, Setup, and Hands-On Review
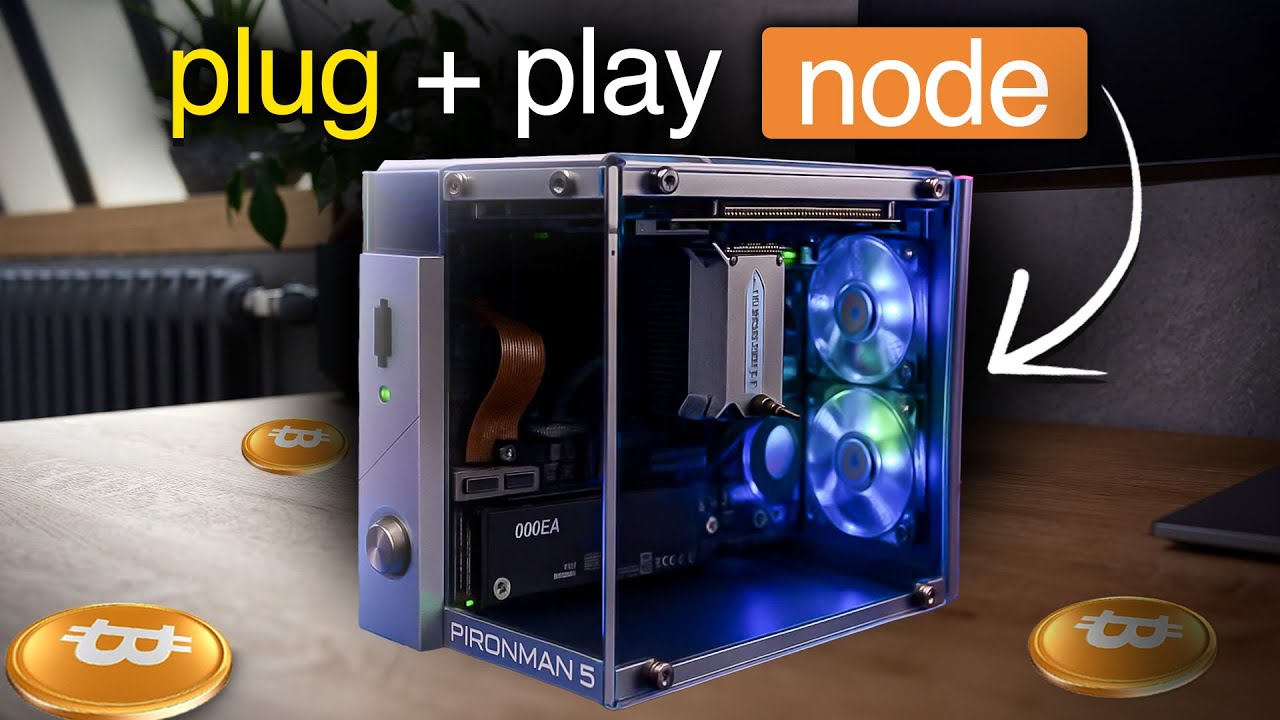
If you’re into solo Bitcoin mining at home, you know the struggle—setting up your own node and your own pool can be tricky, especially if you’re not a hardcore techie. But listen up, things just got a heck of a lot easier. The crew at Bitcoin Merch is making serious waves with their new plug and play home Bitcoin node, and today I’m going to walk you through unboxing, setup, and mining to your own personal pool. This thing is loaded, looks awesome, and it’s probably perfect for anyone—whether you’re just getting started or looking to streamline your current rig.
So buckle up! We’re diving deep. There’s a lot to cover, and by the end of this post, you’ll know everything you need to get your hands on your very own fully equipped node—and you’ll see exactly why I’m so stoked about it.
For more on this topic check out this detailed video: Every Home Bitcoiner Needs THIS! (Plug & Play Node)
Table of Contents
- Why Every Home Bitcoin Miner Needs Their Own Node & Pool
- Unboxing the Bitcoin Merch NodeX: First Impressions
- A Closer Look: Hardware Features & Ports
- Plug and Play Setup, Step-By-Step
- Finding and Accessing Your Node on The Network
- Hands-On with The Umbrel Dashboard
- Hardware Specs & Why They Matter
- Syncing Your Bitcoin Node: What to Expect
- Solo Mining with Public Pool: A Quick Guide
- Configuring Your Home Miner to Your New Node
- Price, Discount, and Where to Buy
- Links & Resources
Why Every Home Bitcoin Miner Needs Their Own Node & Pool
Alright, let’s hit this straight on: if you’re a home solo Bitcoin miner, running your own node (and pool) is huge. It’s about more than just mining—it’s about sovereignty, control, privacy, and being a real part of the network.
You no longer have to depend on third-party pools, you validate your own transactions, and you keep your setup tight and local. The problem? For a long time, setting up a dedicated node (especially one with a solo pool) meant either repurposing a spare PC or piecing together a Raspberry Pi with some serious tinkering. Not everyone has the time, patience, or nerves for that.
That’s what makes this new product from Bitcoin Merch so exciting…
“The team over at Bitcoin Merch made this insanely easy with their plug and play home node.” – The Hobbyist Miner
Unboxing the Bitcoin Merch NodeX: First Impressions
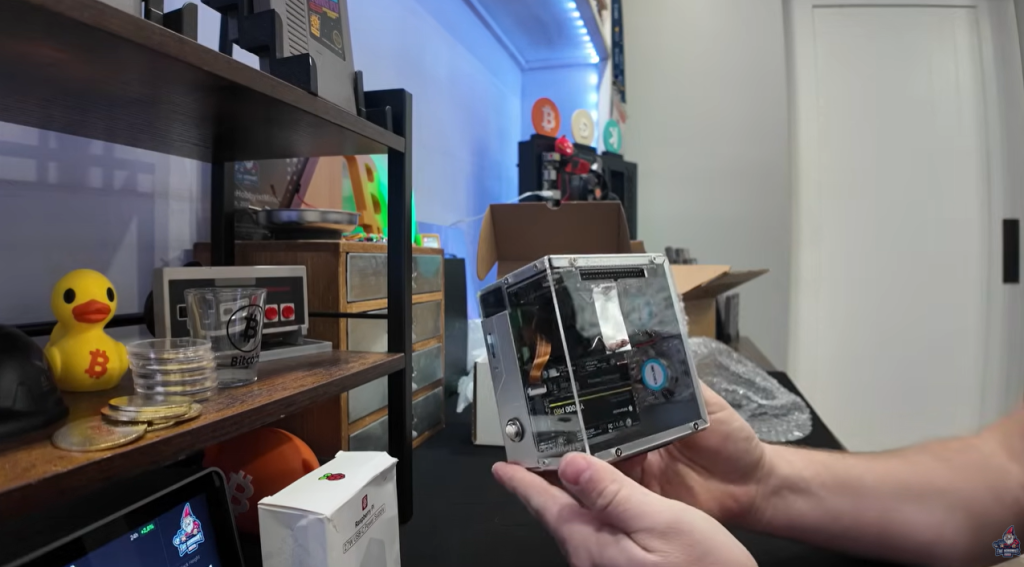
Let’s get to the unboxing, because… well, I’ve been hyped and waiting for someone to bring a box like this to market. Sure, I’ve shown how you can make your own node out of an extra PC, but being able to buy one ready-to-go? That’s next level.
What’s in The Box
Right out of the gate, this thing is slick. Here’s what you’ll find:
- NodeX Device (the actual node)
- Raspberry Pi 27W USB-C Power Supply (enough juice for the hardware!)
- Solid, Transparent Acrylic Chassis (so you can actually see the guts)
- Pre-installed Umbrel OS and Bitcoin Core (no more hunting for SD cards and writing your own images)
- 2TB NVMe Drive (all the storage you need for the rapidly growing blockchain)
- Heatsinks for extra cooling
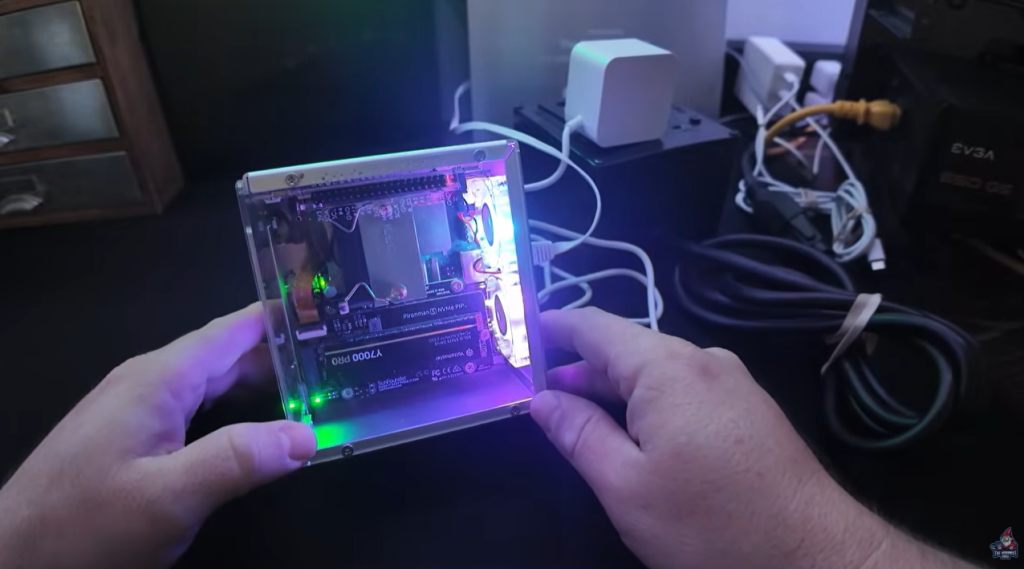
- RGB Lighting on Fans (honestly, this is worth it alone—everything is better with RGB)
- All Necessary Cables
And yes, I did a little happy dance when I spotted the RGB. Because if it doesn’t glow, does it even go?
Physical Impressions
First thing: this looks sharp—acrylic glass, a nice chassis, and those RGB fans shining through. It feels like a mini high-end PC (and not a thrown-together science fair project). You can tell some actual thought and care went into this one—not just another plastic box.
A Closer Look: Hardware Features & Ports
Before firing it up, let’s go around the device and see what Bitcoin Merch is actually giving us.
Up Front
- Power Button: Sleek and easy to access
- MicroSD Card Slot: For OS images or backups
- Small Display (appears to be a basic status screen/indicator—useful for at-a-glance checks)
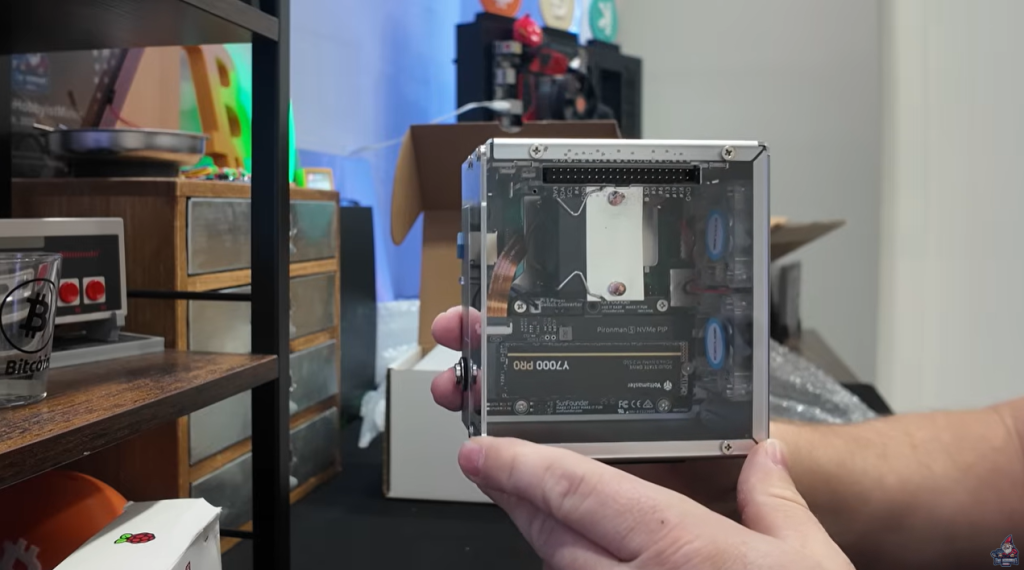
Inside (Visible through Acrylic)
- 2TB NVMe Solid State Drive
- Sturdy Heatsink
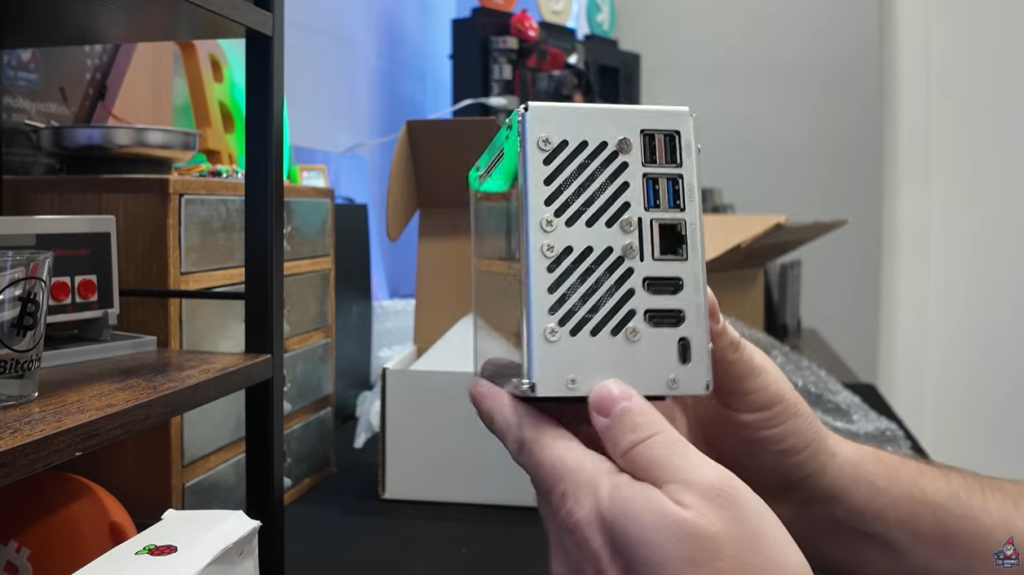
Left/Right/Back Side Inputs
- Multiple USB Ports (Including USB 3.0)
- Gigabit Ethernet (absolutely recommended for stability and speed)
- 2x HDMI Ports (yep, two! Wild for a little node box)
- USB-C Power Delivery
It’s clear Bitcoin Merch is aiming to cover all needs—enough for a solo mining setup, and flexible enough that you can do display-out configuration, plug in accessories, and keep everything hardwired.
Plug and Play Setup, Step-By-Step
Now here’s where this device really shines: pure plug and play. That’s not marketing hype—this is actually, turn it on and you’re pretty much ready to rock.
Step 1: Power It Up
- Plug in the USB-C power supply.
- Hit the power button up front.
The RGB fans spin up, lighting the box in that signature Bitcoin Merch fashion. It’s honestly a little show in itself—totally fits on a shelf next to your other gear (or even behind you, just because it looks that good).
Step 2: Networking (Do This!)
Grab an Ethernet cable and plug directly into your router or switch. While WiFi might be possible through workarounds, you definitely want to stay hardwired for a node—it’s about reliability and keeping your chain synced up.
Tip: This node only sips power—thanks to the Raspberry Pi 5 and efficient hardware, you’re not going to blow the budget on your electric bill.
Step 3: Get Your IP Address
Your node will grab an IP address automatically. A lot of home firewalls (like mine) will throw an alert when a new device hops on the network. If not, don’t worry, finding it is simple…
Hardware Specs & Why They Matter
Okay, let’s get nerdy for a minute. What makes this box a real competitor? The specs.
Core Specs
| Feature | NodeX Details |
| Processor | Raspberry Pi 5 |
| Storage | 2TB NVMe SSD |
| Memory (Ram) | 4GB+ (slightly above the 4GB mark) |
| Connectivity | Dual HDMI, USB 3.0, USB-C, Gigabit Ethernet |
| Power Draw | USB-C PSU (27W) |
| OS | Umbrel with Bitcoin Core pre-installed |
| Case | Customer acrylic with RGB cooling fans |
That 2TB NVMe SSD is a big deal. The Bitcoin blockchain is well over 500GB and growing fast. 2TB means YEARS of life in this node before space even becomes a concern—no “out of space” error after a few months. It also means syncing the blockchain, and accessing blocks is way faster than with old-school SD cards or slow USB drives.
Finding and Accessing Your Node on The Network
This is a make-or-break step for a lot of people who don’t love digging into their router.
Bitcoin Merch crushes it in terms of user experience. Here’s why:
- There’s a local discovery address you can use—no scanning for devices, no headaches.
- Simply open your favorite web browser and head to umbrel.local
- If that doesn’t do the trick, check your router’s device list, or use a tool like Advanced IP Scanner to find the new device.
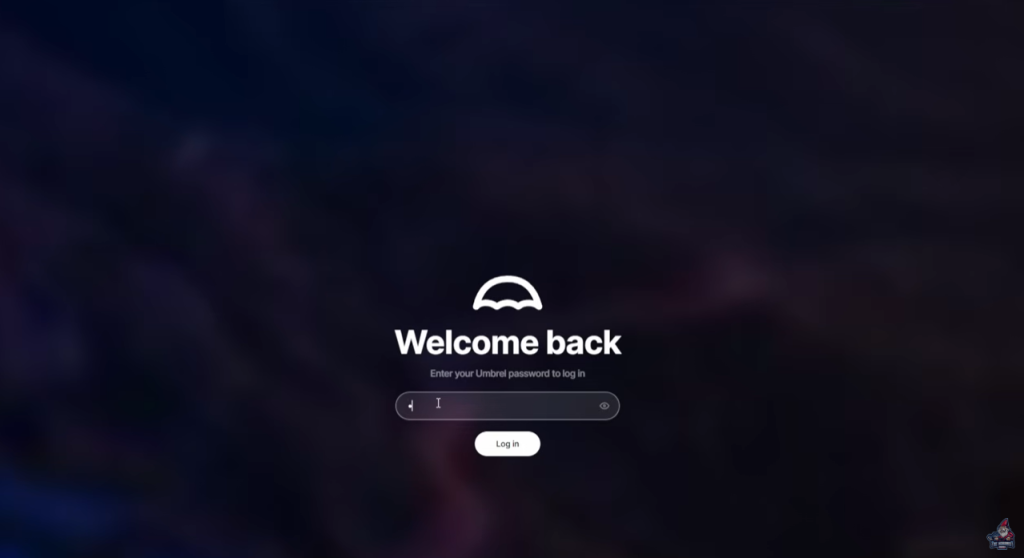
When you connect, the Umbrel dashboard will be waiting for you—ready to log in.
Hands-On with The Umbrel Dashboard
If you haven’t used Umbrel before, you’re in for a treat. It’s shockingly easy—one of the simplest platforms for running a Bitcoin node (and managing multiple apps) around.
First Time Login
- Username: root
- Password: 123456 (You’ll set your own password later—change it ASAP!)
Once inside, Umbrel’s interface is clean, beginner-friendly, and packed with just the essentials. You won’t feel overwhelmed, but power users will still find everything they need.
Why Umbrel?
- App Store: Tons of one-click apps for Bitcoin, Lightning, and more
- Easy Config: Most basic settings and upgrades are a click away
- Web-Based: Configure from any PC, Mac, or even your phone on your network
Syncing Your Bitcoin Node: What to Expect
Here’s a question I always get: How long will it take to sync the full Bitcoin blockchain?
Sync Steps
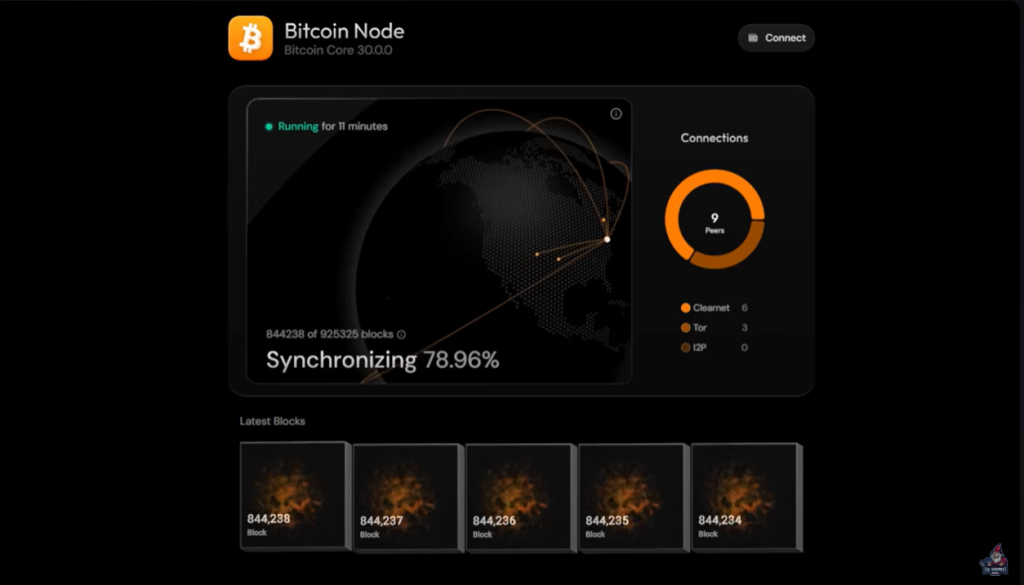
- Locate the “Bitcoin Node” App in Umbrel
- Click and Start the Sync Process: If you’re a purist, you can swap to Bitcoin Knots instead of Core (Bitcoin Merch gives you this flexibility).
- Wait as the chain syncs up:
How long this part takes depends entirely on your internet speed and network reliability. I’ve seen it take a day, I’ve seen it take a week. It’s going to pull hundreds of gigabytes, and it can’t hurry, so be patient.
Once you’re synced—done! You’re fully “on-chain” and ready for the fun part: mining.
“You want to let this sync 100%. And it could take some time. Depending on your Internet speeds. Could take a day, could take a week. The nice thing is once it’s synced, it’ll keep it up to date, which is really, really convenient.”
Solo Mining with Public Pool: A Quick Guide

This isn’t just a Bitcoin node—Bitcoin Merch sets you up with your own personal mining pool right out of the box.
What is Public Pool?
- Public Pool is an app that, when run locally on your Umbrel node, acts as your own open-source pool stratum.
- It’s not connected to any outside service—it’s just you, your miners, and your payouts.
- Super nerdy and cool: you’re actually mining blocks directly, no pool skimming, no third-party middlemen taking a cut.
Setting Up Public Pool
- Find “Public Pool” in the Umbrel App list.
- Install with one click.
- The pool will display its listening address—usually something like stratum+tcp://umbrel.local:2018 (use your node’s actual internal IP if you’re running multiple nodes).
- Make a note of your pool address and port. You’ll need this for your miners.
Configuring Your Home Miner to Your New Node
Now, let’s get hands-on. Let’s actually point a real miner at this pool. For this walkthrough, I used a Bitaxe Gamma 601 home solo Bitcoin miner, courtesy of Bitcoin Merch.
Step-By-Step
- Log into your Bitaxe Gamma miner’s web interface.
- Go to Settings (there’s a left hand menu for this).
- Update Stratum Info:
- Remove any old stratum and port details.
- Enter your pool address from Umbrel.
Example Settings
If your Public Pool address is:
stratum+tcp://192.168.86.188:2018
You might enter:
- Pool URL: 192.168.86.188 (My Umbrel Nodes IP)
- Port: 2018
- User: Your Bitcoin wallet address
- Worker: (Optional) e.g., bitaxeminer
- Password: x or leave blank
- Save Settings and Reboot Miner
Whenever you update configuration, it’s always a good idea to reboot your device—ensures changes take full effect.
Pro Tip
To prevent downtime, you can set a secondary failover pool like CKpool or another public pool in case your home pool goes offline.
Troubleshooting & Tips
- Getting “Can’t find node”? Use IP instead of umbrel.local in miner pool settings.
- Not syncing? Double check network cable and watch for blinking lights.
- Umbrel dashboard down? Power cycle your node, check Ethernet connections.
Price, Discount, and Where to Buy
So, is it affordable? This isn’t the cheapest toy on the market, but when you factor in the hardware, pre-setup, and all the support, it makes sense.
Current Price: $599 (as of Dec 2025)
But hang on! Bitcoin Merch has a discount code for the community:
- Discount Code: thehobbyistminer
- Saves: $25 (brings you to around $587)
- Direct Link to the Bitcoin Merch XNode
That’s for a complete package: Pi 5, NVMe SSD, acrylic/rugged case, Umbrel and Bitcoin Core pre-installed, and a pool app ready to roll. You’re basically paying for someone else to do all the setup and headaches so you don’t have to.
Where to Buy
Get the Bitcoin Merch NodeX Here!
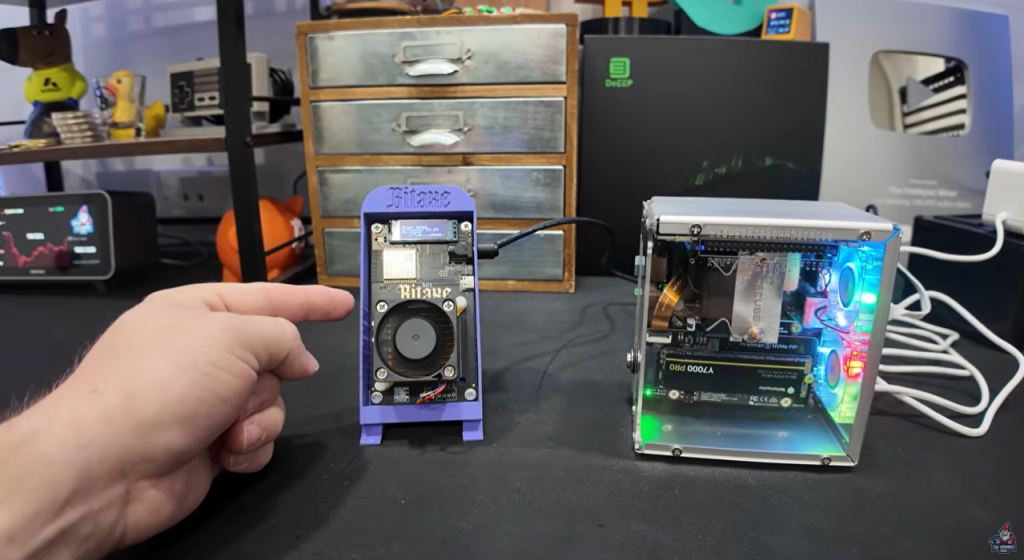
My Final Setup & Plans
This thing is so clean, I’m setting it up on my shelf next to my other gear—probably between a Nintendo controller and a Bitcoin ducky. And my older node (built from a repurposed HP desktop) is getting re-tasked for something else.
If you want plug and play, power, and polish—all while running your very own node and pool, look no further.
Quick Pros & Cons
Pros
- Insanely easy unboxing and setup of the XNode
- Pre-loaded and ready to run out of the box
- Looks fantastic (RGB FTW)
- 2TB NVMe SSD (plenty of blockchain storage)
- Beginner-friendly Umbrel OS, but flexible for power users
- Fully independent mining pool support
Cons
- Not the cheapest route ($599 MSRP)
- You’re paying a premium for one-click setup and ready-to-go OS
- Availability depends on supply (but better than most alternatives)
Take care everyone—see you on the blockchain!