







4 easy Steps to get Started Bitcoin Mining for beginners!

You want to get into Bitcoin mining, but you’re not sure where to begin. That’s normal. The industry is huge, the jargon is thick, and there’s no shortage of people trying to sell you a shortcut!
I started crypto mining more than six years ago in my basement with an old GeForce GTX 970. Today I create content and mine full-time, travel the US visiting large mining farms, and run more than 65 full-size ASIC miners of my own.
If I were starting over as a complete beginner, here are the four steps I’d follow, in this order.
Step 1: Consume Everything (It’s Free)
The first step costs nothing, and it’s the one most people skip: watch and read everything you can.
When I got started during COVID, I spent about six months soaking up every mining video and article I could find. Educational channels, vlogs, how-tos, all of it. You don’t need to go that long, but you do need to put in the time.
The good news is there’s far more great content now than when I started. Search YouTube for “how to get started Bitcoin mining” and you’re off. Don’t just watch this week’s uploads, either. Go back months and years through a creator’s catalog.
A few channels I’ve learned from, and still learn from every day:
- Your Friend Andy
- Red Panda Mining
- Red Fox Crypto
- VoskCoin
- Nordic Crypto
- Mining Stacker
- CryptoJar
- Tech Hustler
Skip the Paid Courses
Please don’t pay for a course that promises to teach you everything about crypto. Most of them drift into trading, timing the market, and bull-versus-bear predictions. You’ll walk out more confused than you walked in.
Honestly, you’d get answers just as reliable from a Magic 8-Ball. And let’s be clear about one thing up front: mining is not a get-rich-quick avenue. Take that phrase out of your vocabulary.
Keep an open mind. Nobody expects you to understand everything right away. I’m still learning something new every single day and I am 6 years in!
Step 2: Get a Trusted, Secure Crypto Wallet
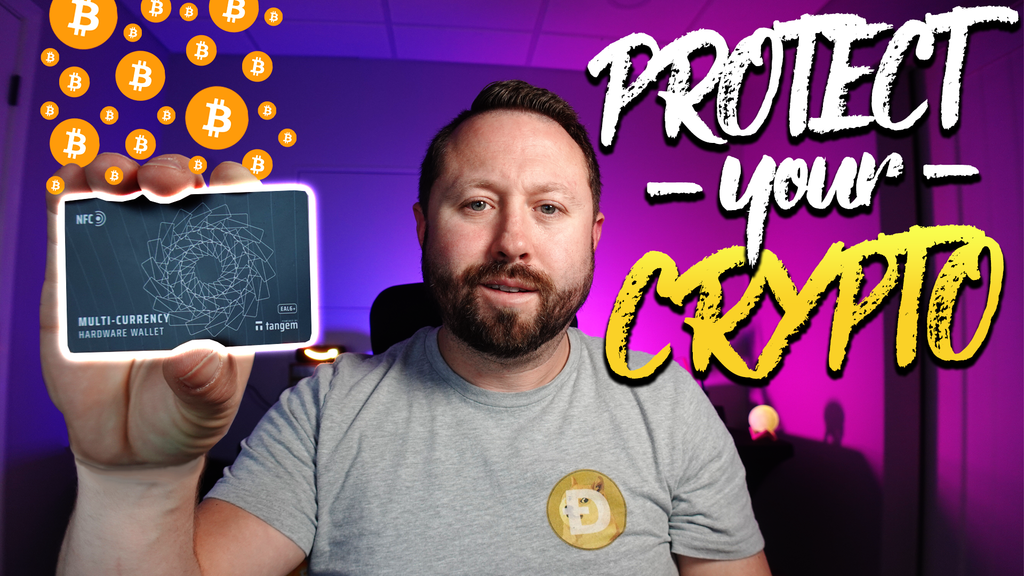
This is one of the most important steps, which is why it comes right after education. Don’t write it off because you haven’t earned any crypto yet. You’ll need a wallet address to mine anyway, and it’s far better to set up security before there’s anything to lose.
Think of your wallet as your personal vault. Whether it’s holding a fraction of a penny or a full Bitcoin block reward (currently 3.125 BTC), it needs to be yours.
Not your keys, not your crypto
You’ve probably heard this phrase. Here’s what it means.
Exchanges like Coinbase, Kraken, and Crypto.com let you open a free account, convert crypto to cash and back, and hold a crypto balance. That’s useful. But the account lives on their platform, and they control it. If the platform gets hacked or runs into some legal or liability mess, the crypto sitting there isn’t really yours.
The fix is self-custody: a wallet where you hold the keys.
Option 1: Free — Trust Wallet
Searching the App Store or Play Store for “free Bitcoin wallet” is a great way to get your coins stolen. The only free wallet I’ll recommend is Trust Wallet. I’ve used it for testing with zero issues, and it’s rated close to five stars on both iOS and Android. It’s a phone app rather than cold storage, but it puts the keys in your hands.
Option 2: About $50 — Tangem cold storage
This is what I actually use. Tangem is a set of NFC cards (I have three that work together) that act as a hardware wallet. You tap a card to your phone to approve transactions and manage your crypto in the Tangem app.
Your keys stay on cards in your hand, not on an exchange that can be hacked. That’s real peace of mind. Tangem also lets you swap between coins and stablecoins in a couple of taps.
If it feels intimidating, watch my full Tangem setup video before you buy.
Step 3: Put On the Training Wheels with Luqee

Before you buy any hardware, big or small, test the waters. I recommend starting with solo Bitcoin mining on Luqee, a hashrate marketplace where you rent mining power instead of buying a machine.
What is solo Bitcoin mining?
Picture Grandma. Every day she buys a $10 lottery ticket at the corner store, rips it up when it loses, and buys another the next day.
Now imagine she could buy one ticket, once, that gets entered into every single drawing automatically. That’s solo mining, at a 50,000 ft level.
A solo miner plays the Bitcoin lottery around the clock. Roughly every 10 minutes a new block is found. Each time, your miner gets another shot, and you never throw the “ticket” away. If you hit a block, the full reward (3.125 BTC) goes straight to the wallet you set up in Step 2.
Your odds depend on hashrate, which works like horsepower. More hashrate means more chances to win.
Why Luqee is a great first step
Luqee lets you solo mine Bitcoin and Bitcoin Cash on their hardware. You just rent the hashrate. A one-week plan costs $2.99, about the price of a grande at Starbucks.
A few features make it fun:
- Random boosts: At random times during the day, your rented hashrate (say, 100 GH/s) gets a burst of up to 100 times more power.
- Daily wheel: Spin it for chips you can save and trade for extra hashrate.
- Weekly Power Mining events: A huge burst of hashrate for about 30 minutes, around 10 PH/s!
It’s a low-risk way to learn how mining actually works before you spend real money. I have a full step-by-step Luqee walkthrough , check it out before moving forward!
Step 4: Buy Your First Bitcoin Miner
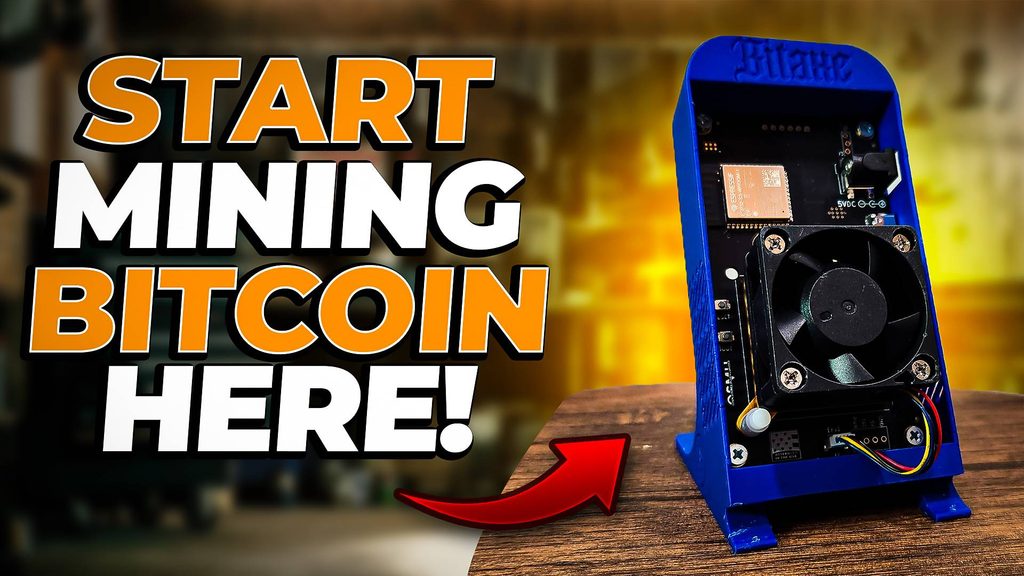
You’ve done the homework, your wallet is ready, and you’ve tried Luqee. Now you’re ready to take off the training wheels and run your own hardware. Welcome to the party! You’re a home miner now!
My pick for your first machine is the Bitaxe Gamma. It’s a small open-source solo miner with a single Bitcoin ASIC chip, running at about 1 TH/s. You can get one from a trusted US-stocked reseller, Crypto Miner Bros, for just under $70.
“Won’t it run up my electric bill?”
Nope. The Gamma draws about 17 watts. At $0.15 per kWh, which is getting closer to normal, that’s around $1.85 a month in electricity. It won’t break the bank.
For the tinkerers
Want to go one step further? You can run your own Bitcoin node and solo mining pool on an old PC at home, and point your Bitaxe at it. It’s not required, but it’s a great way to learn. I have two videos to walk you through it: one for setting up your new Bitaxe, and one for building your own node and pool.
The Recap
- Learn first. Watch and read everything, for free.
- Secure a wallet. Trust Wallet for free, or Tangem for real cold storage.
- Test the waters. Try solo mining on Luqee for $2.99 a week.
- Go home miner. Pick up a Bitaxe Gamma for under $70.
And remember Step 1 never really ends. Keep watching, keep reading, and keep asking questions. Check out the below video for more details on getting started!
Finally come share your thoughts and questions on getting started Bitcoin Mining in The Hobbyist Miner Community Discord, free to join here!